LivSolvLive in the solution.
DIY emergency cooking

How to build a rocket stove that actually works

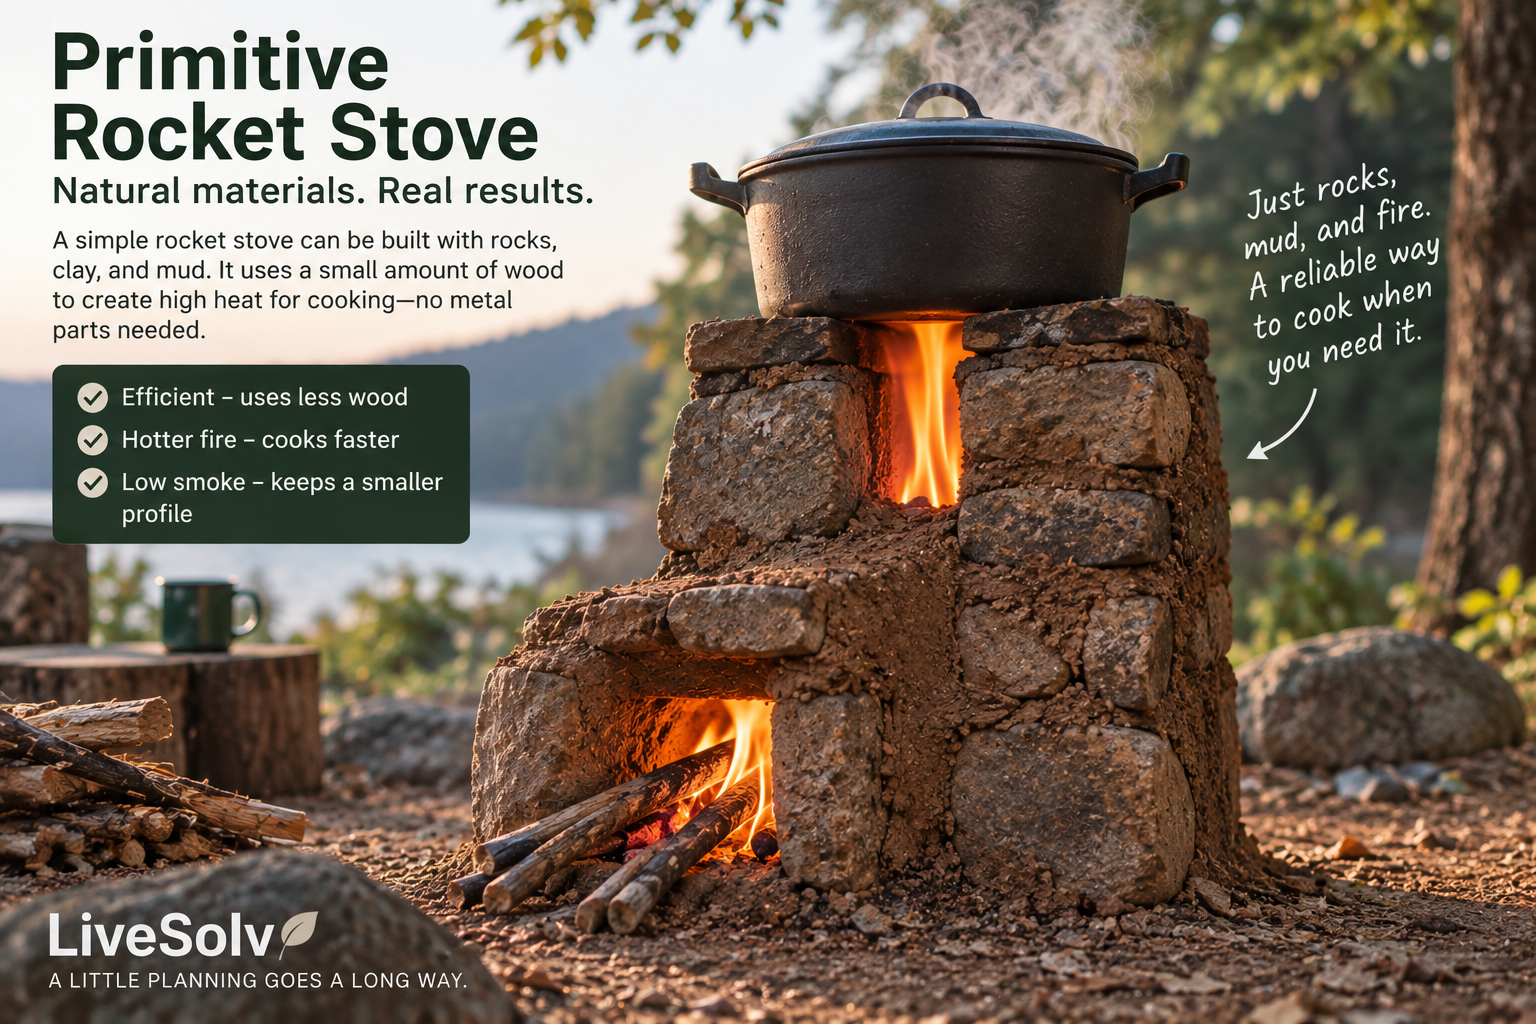
A rocket stove can turn small dry sticks into concentrated cooking heat without relying on propane or butane. The trick is not the container around it. The important parts are an insulated combustion path, reliable airflow, a stable pot support and a safe outdoor setup.

Fast answer: Build an L-shaped or J-shaped insulated combustion path with a fuel feed entering a short vertical heat riser. Keep the flow path reasonably consistent, let air move around the burning ends of the sticks, and leave a controlled gap between the riser and pot so exhaust can escape. Build and use it outdoors on a noncombustible, stable surface.
Do not build this for indoor use. A DIY rocket cookstove is an outdoor solid-fuel appliance. It can produce carbon monoxide, smoke, sparks and extremely hot surfaces. Do not operate it in a house, garage, tent, camper, shed or other enclosed or partially enclosed space.

The design principles that matter

Rocket-stove research from Aprovecho Research Center shows why good designs outperform a random fire in a can. The combustion chamber should stay hot rather than dumping heat into a heavy stove body. The vertical riser creates draft. Fuel should burn at the ends rather than heating an oversized pile of wood. Air needs a clear route through and around the fuel. The hot gas then needs a narrow but unobstructed path past the pot.

For a household-scale stove, classic Aprovecho guidance describes roughly a 4-inch-diameter or 5-inch-square combustion path as a useful scale. Treat that as a design reference, not a magic dimension. The important point is keeping the cross-sectional flow path reasonably consistent so the stove can draft without choking.

A practical build

  1. Choose a fire-safe body. Use a durable metal outer shell or a masonry/refractory arrangement that cannot tip easily. The outer shell is structure, not the combustion chamber itself.
  2. Create the rocket elbow. Form a horizontal fuel-feed/combustion section that turns upward into a vertical heat riser. Refractory or heat-resistant materials are preferable in the hottest zone.
  3. Insulate around the hot combustion path. Lightweight heat-resistant insulation helps keep combustion temperature high. Aprovecho construction literature has used materials such as vermiculite, perlite and wood ash in appropriate designs. Do not substitute unknown foams, plastics or other materials that can melt, ignite or release hazardous fumes.
  4. Add a fuel shelf or grate where the design calls for one. The goal is to let combustion air reach the burning wood rather than packing the opening solid with sticks.
  5. Keep the gas path open. Do not make the feed, elbow and riser wildly different sizes or block the top with the pot.
  6. Build a stable pot support. The pot must sit securely while leaving a gap for hot gases to escape around it. A pot perched directly over the riser with no exhaust path can choke the fire.
  7. Test it outdoors before depending on it. Start with a small fire using dry sticks. Confirm that smoke and flame are pulled toward the riser, the stove remains stable, the pot cannot slide off, and the body or surrounding ground is not creating an unexpected fire hazard.

How to fire it efficiently

Use small, dry sticks rather than stuffing the feed tube with large wet wood. Feed the burning ends gradually into the combustion zone. Leave air spaces between sticks. A smaller clean fire is often more useful than an oversized smoky one.

Use a lid on the pot. Shield the stove from wind only in a way that does not block combustion air or trap heat against combustible material. Keep water or an appropriate extinguisher nearby, and obey burn bans and local fire restrictions.

Common DIY mistakes

If you want the simplest DIY path: use a proven rocket-stove plan rather than inventing the combustion geometry from scratch. Aprovecho has decades of rocket-stove research, construction manuals and design guidance.
Aprovecho construction resources →Rocket Stove Design Guide →

Rather buy one?

If you do not want a fabrication project, a purpose-built rocket stove gives you known pot supports and a finished combustion chamber. The EcoZoom Dura is the simpler wood-burning choice. The EcoZoom Versa costs more but adds charcoal capability and a damper.

See EcoZoom rocket stoves →Back to blackout cooking options →

Research basis

This guide is based primarily on Aprovecho Research Center's rocket-stove design and testing work. Their research emphasizes a low-mass insulated combustion chamber, controlled fuel and airflow, appropriate draft, and efficient heat transfer to the pot. The guide is intentionally limited to outdoor emergency cooking rather than indoor stove or heating-system construction.

Aprovecho: rocket-stove operating research
Aprovecho: stove design process